 | |
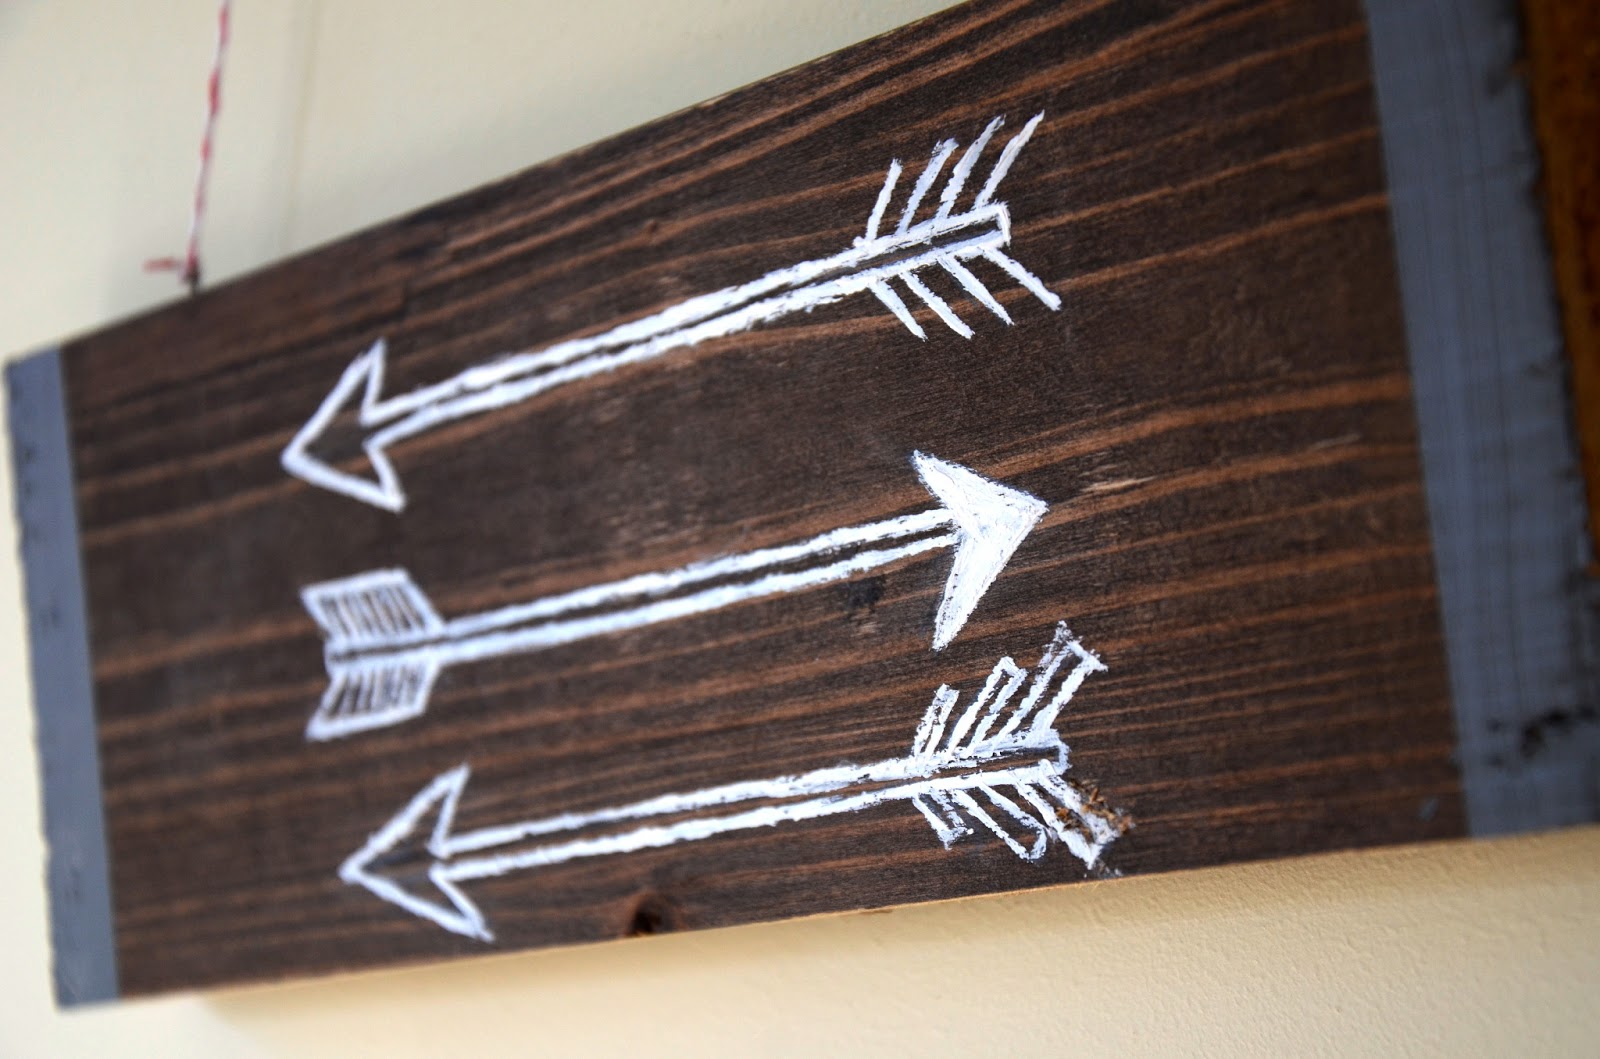
| Not a huge fan of Oprah, but she got it right when she said this. Inspired me today, so I made a happy little quote box. Reminded me of the importance of every moment. Happy Monday everyone! |

Monday, February 25, 2013
Moments. . .
Saturday, February 23, 2013
Beautiful Family. . .
 |
| Just had to post a really quick update from this morning's session! It was my first group session ever, and I had SO much fun. They were so much fun to be with! Such a sweet family, here are a couple from this morning. . . |


Izabella. . .
 |
| Tonight was one of those sleepless nights. I just couldn't fall asleep, so I resorted to editing since it is so relaxing for me. . .I did a practice session with Izabella a couple months ago just to get some more practice and experience and just hadn't gotten around to editing them yet. Oh my, I forgot how fun this shoot was! The location was tricky. We had to hop a fence, it was great fun. It was in a cow pasture, and the light was seeping through the trees in a magical way. Here is a little sneak peek, many more to come! |


 |
| Just had to do a b&w of this one, isn't it lovely? |
Wednesday, February 20, 2013
Sharing the Love. . . One week later!
 |
| Since the schedule has been totally packed the past few days, I just HAD to share a post about Valentine's Day. It was incredible, I had the best day EVER. Jason made it so special, I loved every part of it! Here are his gifts that I wrapped, I just hand painted some designs on them. |
 |
| And, of course I did a smitten one ;) |

 |
| This is a sign I made for my bedroom door, I LOVE how it turned out, can't help but love little festive decor. |
 |
| And, one more DIY, a Valentine's Banner! I just took an exacto knife and cut out fun Valentines, I ended up hanging this in our house for Valentine's Day. Sorry this post was so belated, but I hope you had the most amazing day ever. Happy Valentines Day (just a couple days later)! xoxo Enjoy the rest of February. . . |


Snow Day. . .
 |
| This past weekend, we had a couple hours of snow. For South Carolina, it fell beautifully. . . It was so magical to watch the sky break open in showers of white, fluffy snow. It might be the only snow day we will have this year, so I most certainly took advantage of this opportunity to take some pictures that captured the magical afternoon I experienced. Mary took some pictures of me in the snow, and I love how she captured the details of snowflakes. |

 |
| This is one picture that just captured the intense snowfall at the beginning, it was so amazing to watch! I love seeing the woods turn into white. |

 |
 |


 |
| Kingston's first snow!!!! He didn't know what to do about it, he was so adorable. I think he liked the little snowflakes. . . |

 |
| Oh, so happy. |
Friday, February 15, 2013
$5 DIY Photo Canvas. . .
 |
| I am SO excited to share this DIY with you. I'm sure if you are anything like me, I am always looking for ideas that are low cost with amazing results. Here is one example of a super easy, amazing canvas that you can do for under $5. The first thing to do is find a canvas. Hobby Lobby carries plain white canvases for low cost, but the cheapest way to go is the thrift store. I got my 21"x 16" canvas at Goodwill for $2. Let me show you how it all came to be! |
 |
| $2 canvas. Couldn't wait to paint it black! |
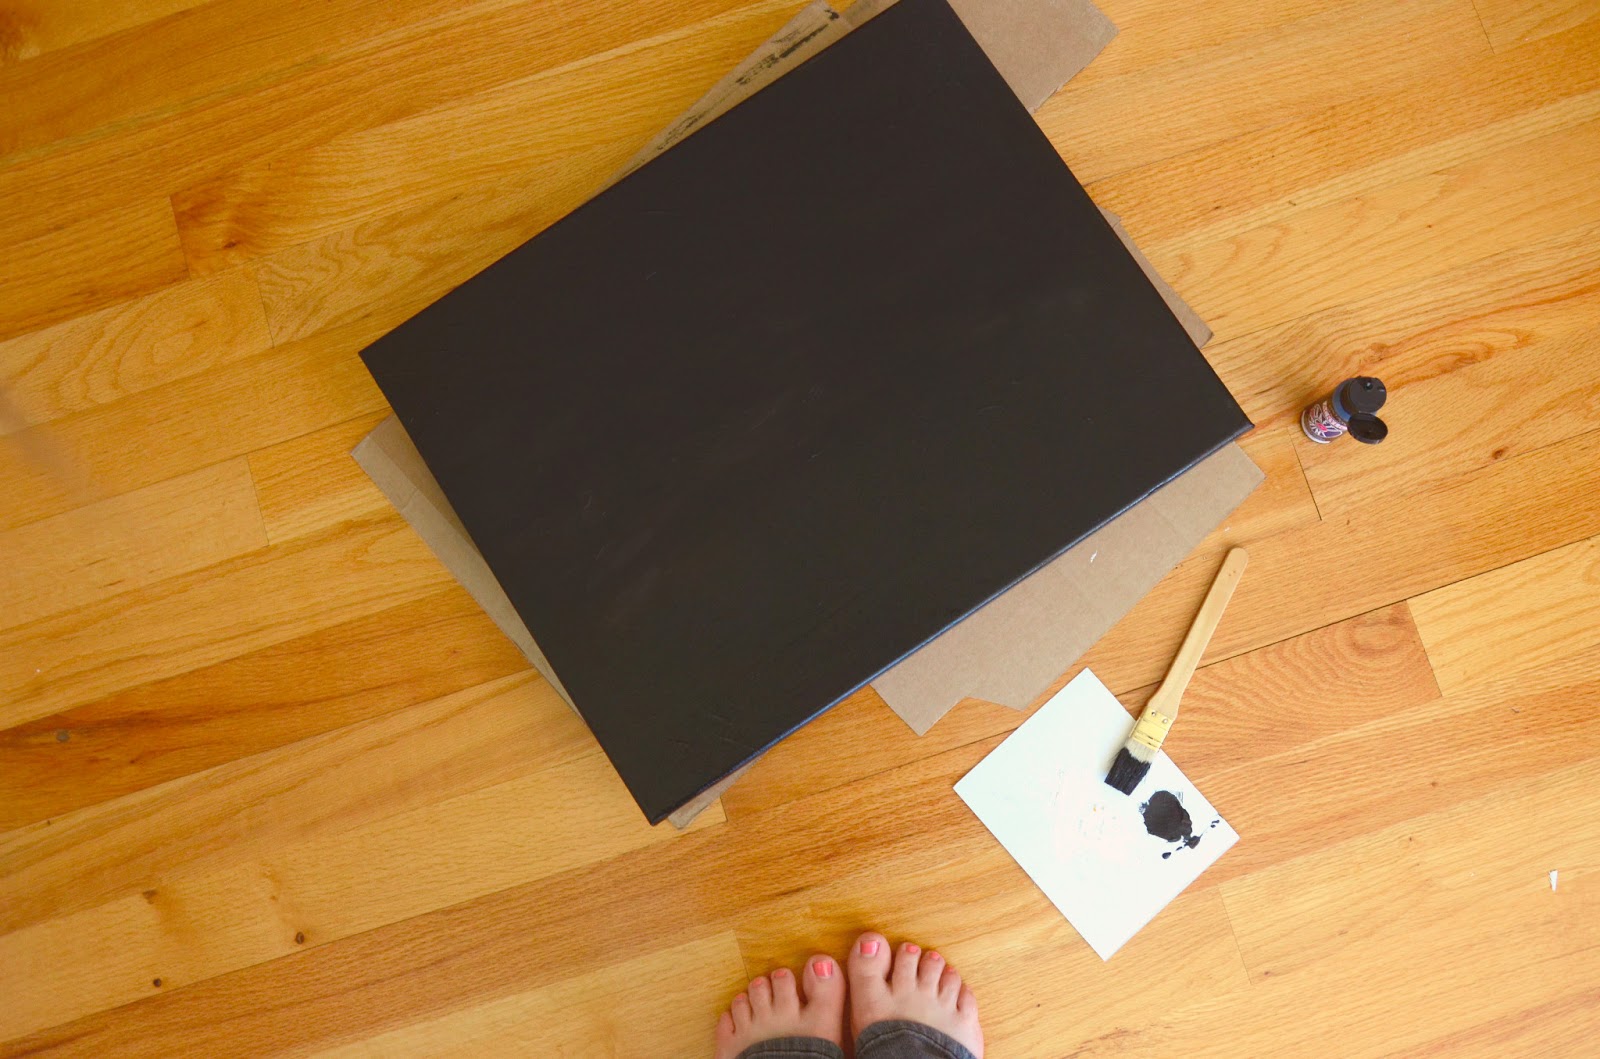 |
| All you have to do is paint the canvas front and sides with black paint. |
 |
| I got a huge blown up picture from the Staple's Copy center for $1.79. $1.79?!?!?!?!? Yes. Can you believe that? Just make sure your photo is already black and white, take it in on a flashdrive, and they will print your picture in less that 5 minutes. The only thing you have to do is cut it out. I suggest getting a couple inches bigger than what your canvas dimensions are. So for mine, it was a 25x20ish printed picture. |
 |
| The last step is tricky. It involves modge podge, and can get a little messy. I put down a little bit of modge podge on the canvas and then very carefully smoothed the picture over the canvas. I then modge podges the EDGES of the picture, not the entire top of the picture. This causes wrinkles and bumps in the picture, so that's why I suggest just doing the edges. Give it a couple of hours to dry, and you will be all ready to go! |
 |
| Hope you enjoyed this little tutorial! Make sure to give it a try. I did this for Lauren because her birthday was this past week. She abosolutely loved it, and I was so excited with the result!!!!! |

Thursday, February 7, 2013
Kingston Sawaya, 1 year. . .
 |
| Oh, this baby has stolen my heart. Today is the day that one year ago changed the lives of so many people, little Kingston Lekoshere was born. He is such a joy and I have loved experiencing every moment that I have had with this little guy. Going back through the thousands of pictures (literally!), I chose just a couple sweet moments to share. Couldn't help but be amazed by how fast time has flown by, I can't believe he is already a year old. I absolutely love being an aunt :) Happy Birthday little King, I love you so much! |


 |
| First time holding him. . . Such a precious moment I will never forget! |


Subscribe to:
Posts (Atom)